【探索LWC开发之 】怎么在Lightning Web Component(lwc)中上传文件1(使用lightning-file-upload组件)
需求:在Lightning Web Component(LWC)中上传附件(使用lightning-file-upload组件实现)
这样的需求很常见,所以针对上传文件,我们在这里简单地说明一下。
希望对大家有所帮助。
实现步骤(1):查看FileUpload组件的使用方法
我们打开下面的链接。
https://developer.salesforce.com/docs/component-library/bundle/lightning-file-upload/documentation
实现步骤(2):编写Html代码文件
下面的示例代码
<template>
    <lightning-file-upload
        label="Attach receipt"
        name="fileUploader"
        accept={acceptedFormats}
        record-id={recordId}
        onuploadfinished={handleUploadFinished}
        multiple
    >
    </lightning-file-upload>
</template>
然后我们再来讲解一下主要的属性。
| 属性名称 | 英语 | 中文 |
|---|---|---|
| accept | Comma-separated list of file extensions that can be uploaded in the format ['.ext'], such as ['.pdf', '.jpg', '.png']. | 能够上传的文件类型,以逗号分隔,比如['.pdf', '.jpg', '.png'] |
| record-id | The record Id of the record that the uploaded file is associated to. | 数据的SalesforceID 上传的文件需要和哪一条Salesforce数据进行关联。 |
| onuploadfinished | 文件上传完成后的后处理方法 | |
| multiple | Specifies whether a user can upload more than one file simultaneously. The default is false. | 是否能够上传多个文件。 默认是False |
实现步骤(3):编写Javascript代码文件
我们再来修改Javascript代码文件
import { LightningElement, api,wire } from 'lwc';
import {ShowToastEvent} from 'lightning/platformShowToastEvent';

export default class FileUploadLwcPageGogogo extends LightningElement {
    @api recordId;

    get acceptedFormats() {
        return ['.pdf', '.png'];
    }

    connectedCallback(){
        console.log('connectedCallback -1-->'+ this.recordId);
    }

    handleUploadFinished(event) {
        // 取得所有上传的文件名称
        const uploadedFiles = event.detail.files;
        let uploadedFileNames = '';
        for(let i = 0; i < uploadedFiles.length; i++) {
            uploadedFileNames += uploadedFiles[i].name + ', ';
        }
        this.dispatchEvent(
            new ShowToastEvent({
                title: 'Success',
                message: uploadedFiles.length + ' Files uploaded Successfully: ' + uploadedFileNames,
                variant: 'success',
            }),
        );
    }
}
为了让LWC页面显示到数据的详细页面
<?xml version="1.0" encoding="UTF-8"?>
<LightningComponentBundle xmlns="http://soap.sforce.com/2006/04/metadata">
    <apiVersion>48.0</apiVersion>
    <isExposed>true</isExposed>
    <targets>
        <target>lightning__AppPage</target>
        <target>lightning__RecordPage</target>
        <target>lightning__HomePage</target>
    </targets>
</LightningComponentBundle>
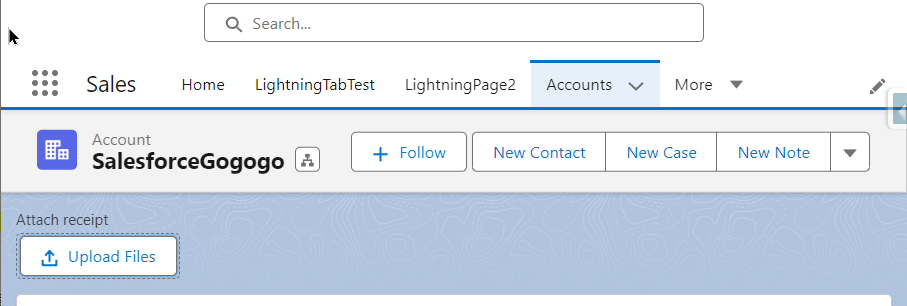
实现步骤(4):把LWC组件拖到数据页面上,再来验证


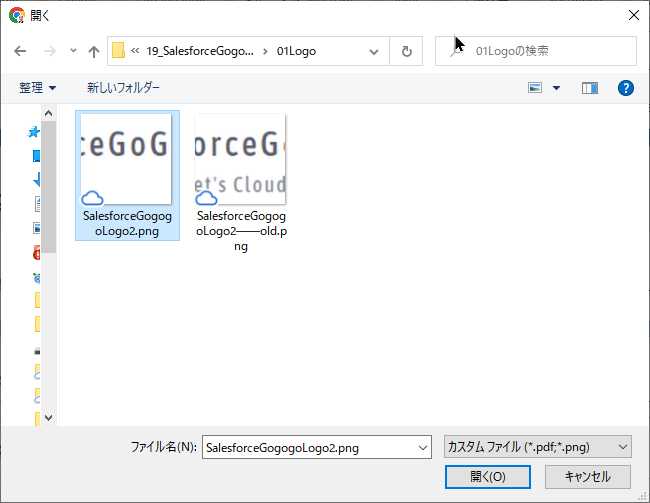
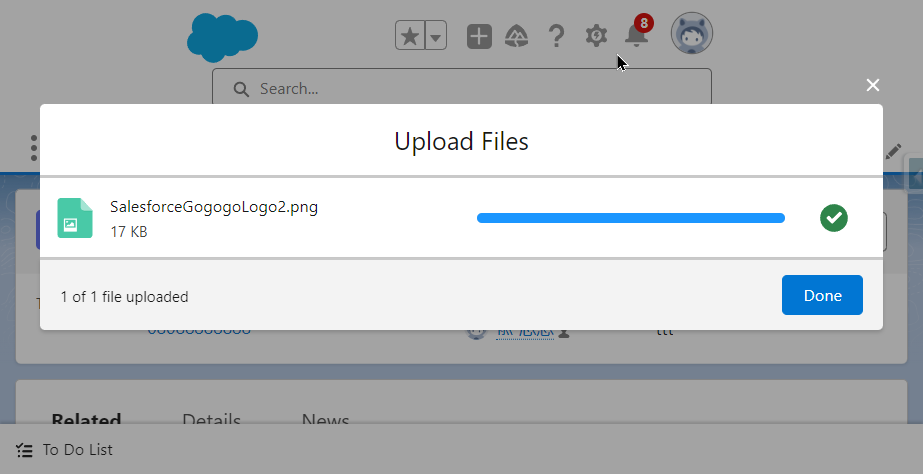
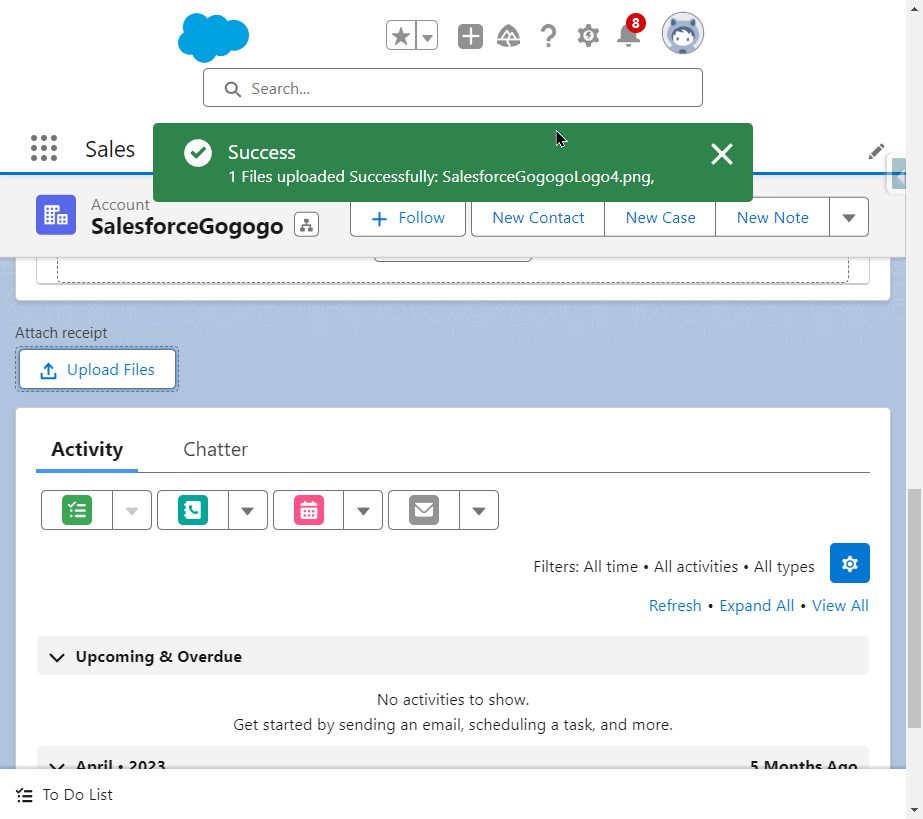
文件上传成功。
关注
收藏
赞
踩
