【探索LWC开发之 】怎么在Lightning Web Component(lwc)中上传文件2(使用lightning-input组件)
需求:在Lightning Web Component(LWC)中上传附件(使用lightning-input组件实现)
上一篇文章,我们讲解了使用lightning-file-upload组件来上传文件。
在这里我们大概讲解一下lightning-input组件来上传文件。
希望对大家有所帮助。
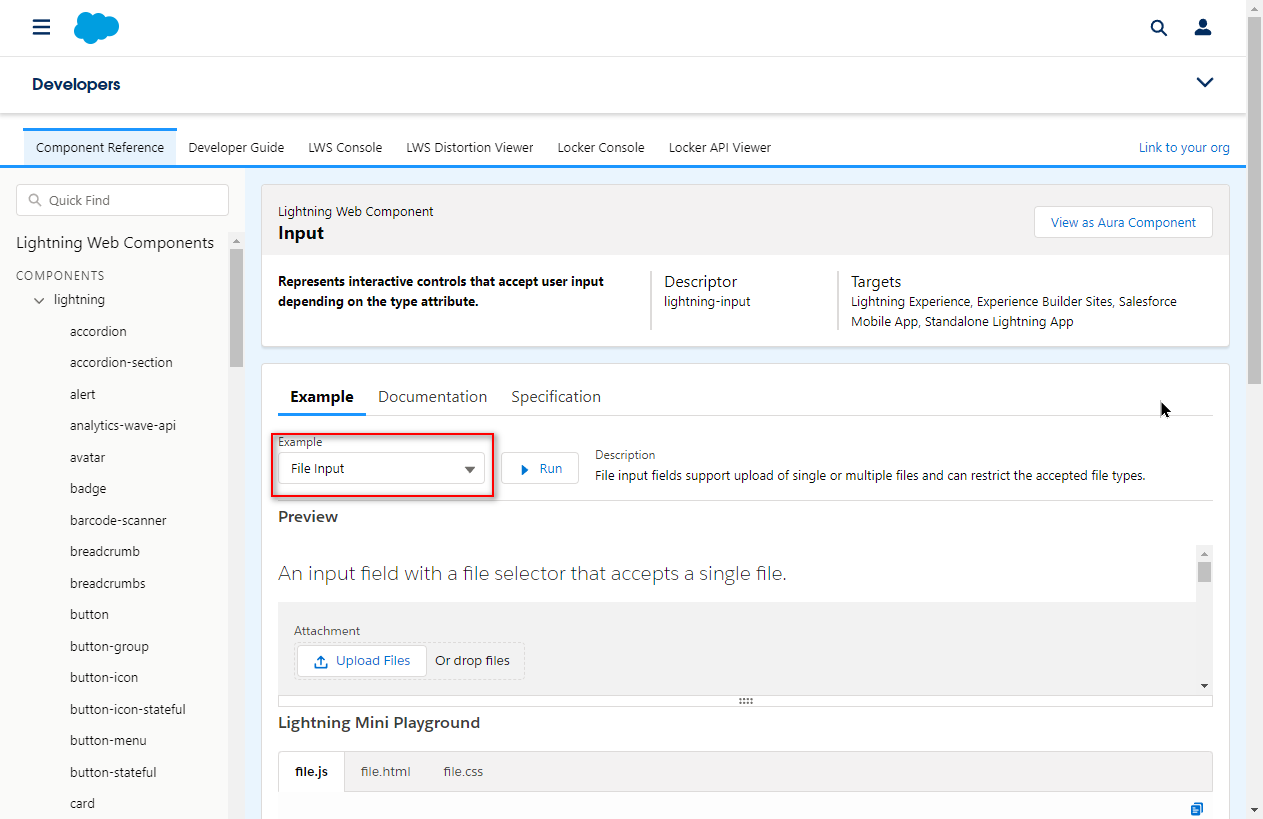
实现步骤(1):查看lightning-input组件的使用方法
我们打开下面的链接。
https://developer.salesforce.com/docs/component-library/bundle/lightning-input
关选择FileInput
实现步骤(2):编写Html代码文件
下面的Html页面的示例代码
<template>
    <lightning-card title="怎么在Lightning Web Component(lwc)中上传文件2" icon-name="custom:custom14">
        <div class="slds-m-around_medium">
            <lightning-input type="file"
            accept=".pdf, .png"
            label="Attachment" onchange={handleFilesChange}></lightning-input>
        </div>
        <template if:true={fileData}>
            <p>{fileData.filename}</p>
        </template>
        <lightning-button variant="brand" label="确定上传" title="确定上传" onclick={handleClick} class="slds-m-left_x-small"></lightning-button>
    </lightning-card>
</template>
然后我们再来讲解一下主要的属性。
| 属性名称 | 英语 | 中文 |
|---|---|---|
| accept | Comma-separated list of file extensions that can be uploaded in the format ['.ext'], such as ['.pdf', '.jpg', '.png']. | 能够上传的文件类型,以逗号分隔,比如['.pdf', '.jpg', '.png'] |
| onchange | 文件选择(变化)后,激发这个事件 | |
| multiple | Specifies whether a user can upload more than one file simultaneously. The default is false. | 是否能够上传多个文件。 默认是False |
实现步骤(3):编写Javascript代码文件
我们再来修改Javascript代码文件
import { LightningElement, api } from 'lwc';
import { ShowToastEvent } from 'lightning/platformShowToastEvent';
import uploadFile from '@salesforce/apex/CommonUtil.uploadAttachment'
export default class FileUploadLwcPageGogogo  extends LightningElement {
    @api recordId;
    fileData
    handleFilesChange(event) {
        const file = event.target.files[0]
        var reader = new FileReader()
        reader.onload = () => {
            var base64 = reader.result.split(',')[1]
            //设置fileData内容
            this.fileData = {
                'filename': file.name,
                'base64': base64,
                'recordId': this.recordId
            }
            console.log(this.fileData)
        }
        reader.readAsDataURL(file)
    }

    handleClick(){
        const {base64, filename, recordId} = this.fileData
        uploadFile({ base64, filename, recordId }).then(result=>{
            this.fileData = null                    //文件上传完成,清空fileData内容
            let title = `文件${filename} 上传成功!!`
            this.toast(title)                       //用toast显示消息
        })
    }

    toast(title){
        const toastEvent = new ShowToastEvent({
            title,
            variant:"success"
        })
        this.dispatchEvent(toastEvent)
    }
}
为了让LWC页面显示到数据的详细页面
<?xml version="1.0" encoding="UTF-8"?>
<LightningComponentBundle xmlns="http://soap.sforce.com/2006/04/metadata">
    <apiVersion>48.0</apiVersion>
    <isExposed>true</isExposed>
    <targets>
        <target>lightning__AppPage</target>
        <target>lightning__RecordPage</target>
        <target>lightning__HomePage</target>
    </targets>
</LightningComponentBundle>
实现步骤(4):编写Apex代码方法
因为我们是通过Apex上传文件的,所以我们还需要@AuraEnabled声明的Apex方法。
/**
 * @description       : 所有共通方法
 * @author            : SalesforceGogogo.com
 * @last modified on  : 2023/08/31
 * @last modified by  : SalesforceGogogo.com
**/

public with sharing class CommonUtil {

    /**
    * uploadAttachment方法,上传Classic的附件
    * @param base64   编码处理完的文件内容
    * @param filename 附件的名称
    * @param recordId 需要关联到的数据ID
    */
    @AuraEnabled
    public static String uploadAttachment(String base64, String filename, String recordId) {
          Attachment attachment = new Attachment();
          attachment.Body = Blob.valueOf(base64);
          attachment.Name = filename;
          attachment.ParentId = recordId;
          insert attachment;


          System.debug('filename----------->'+filename);
          System.debug('recordId----------->'+recordId);

          return attachment.Id;
    }

}
实现步骤(5):把LWC组件拖到数据页面上,再来验证
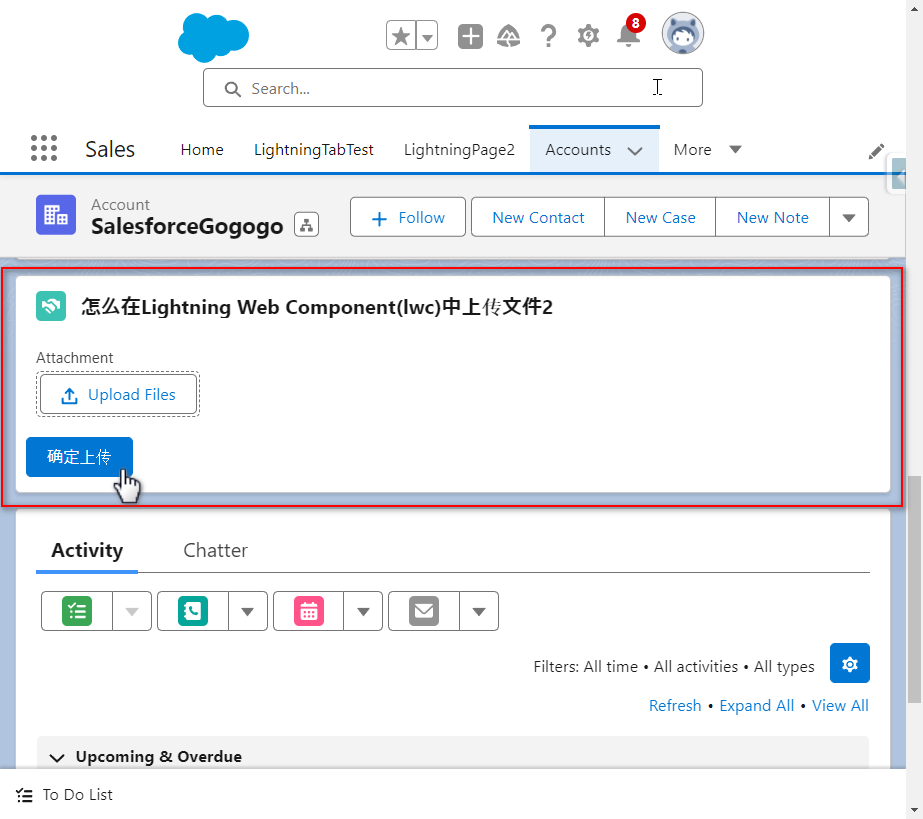
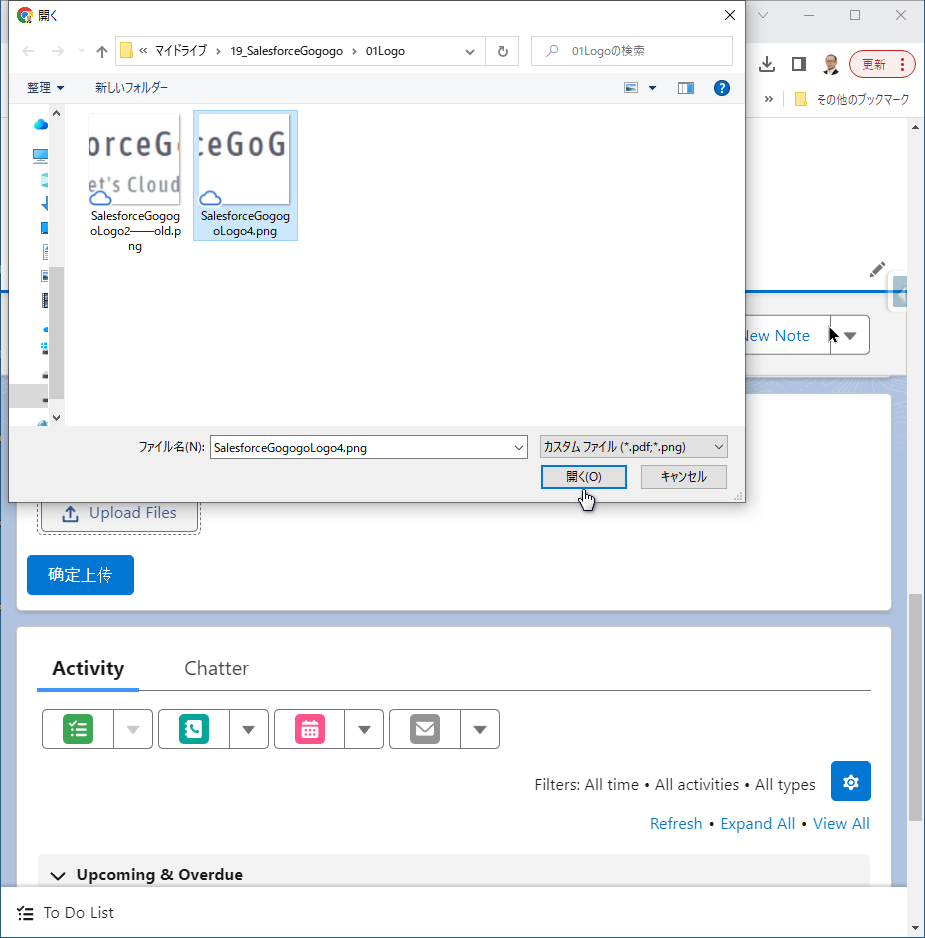

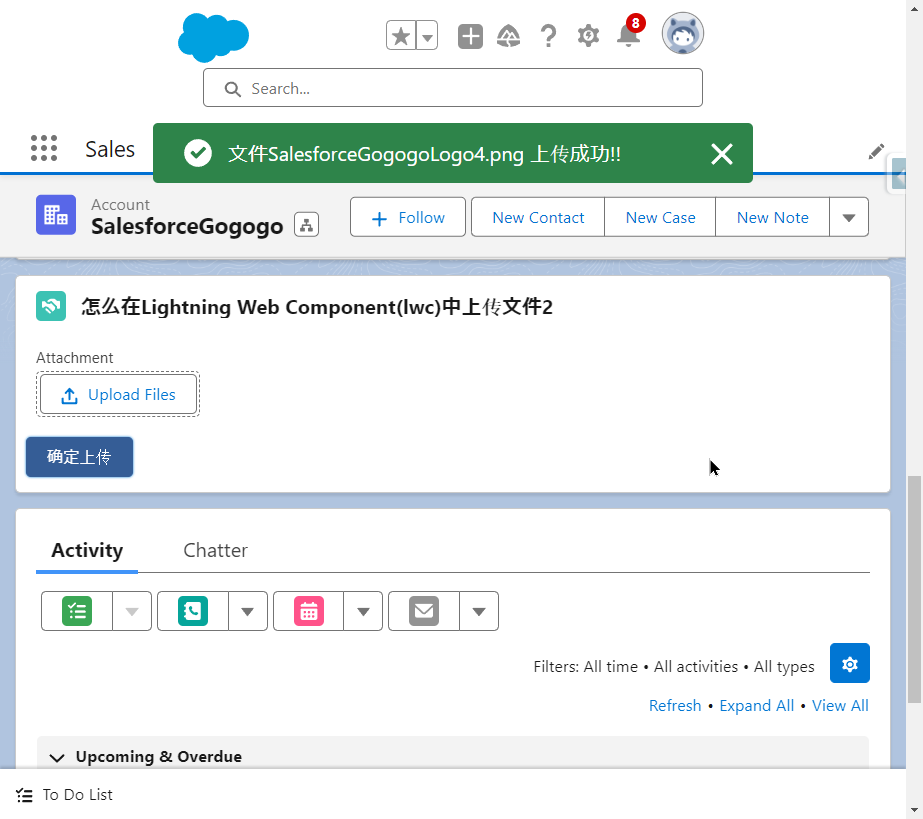
文件上传成功。
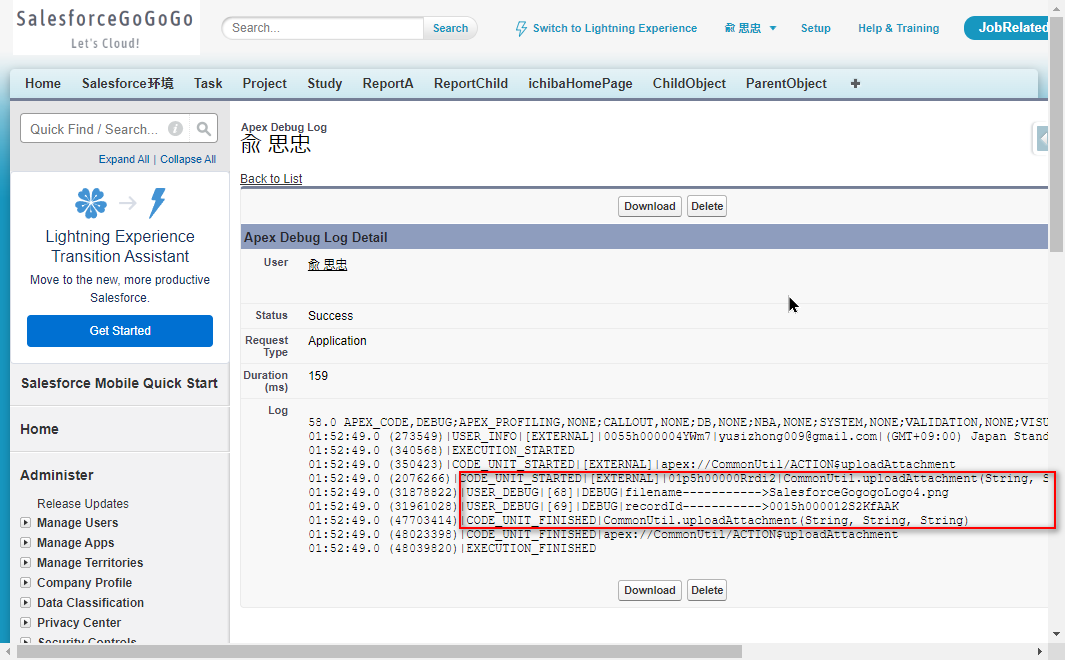
因为是通过Apex上传的,所以我们可以通过Debug内容看到上传的文件名称和相关的SalesforceID
关注
收藏
赞
踩
